How to Create a Table in phpMyAdmin?
How to Create a Table in phpMyAdmin?
Organized data can help in many ways. PhpMyAdmin is a gateway for developers and database administrators in web development and database management.
This free and open-source software offers a graphical user interface to simplify MySQL and MariaDB database management. Whether setting up a new website, managing your web applications, or exploring database concepts, knowing how to create and manage tables within phpMyAdmin efficiently is essential.
Tables serve as the foundation of databases, holding the structured data in rows and columns and allowing for efficient data storage & in this comprehensive guide, we will learn the steps to create a table in phpMyAdmin.
Also Read: How to Add TXT Record to DNS cPanel?
Steps to Create Database Table in phpMyAdmin
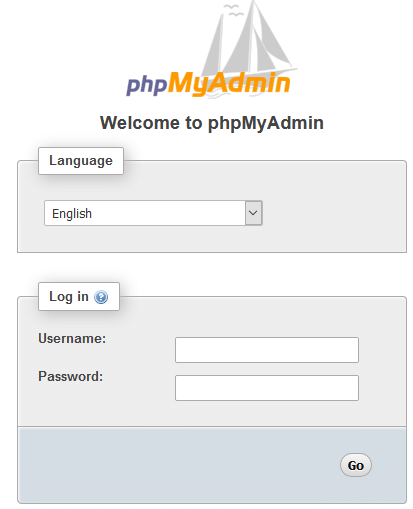
➔ Open your web browser and navigate to the phpMyAdmin interface by entering the appropriate URL (e.g., localhost/phpmyadmin) and logging in with your MySQL credentials, or you can get there with cPanel.
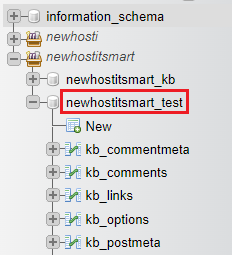
➔ Once logged in, select the database where you want to create the table from the list of databases displayed on the left sidebar.
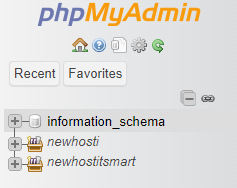
The database name we will use is ‘newhostitsmart_test,’ or you can create a new one.
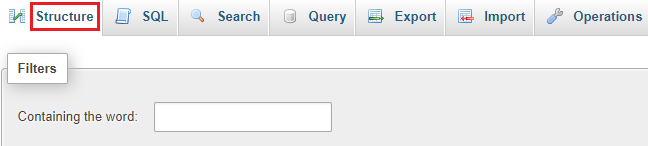
After selecting the desired database, click on the ‘Structure’ tab located at the top menu to access the table creation interface.
➔ That page has a ‘Create table’ feature at the bottom.
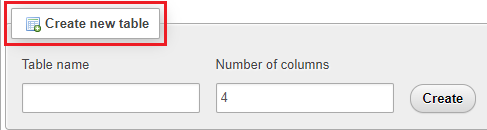
➔ Add the table name & choose the number of columns the table will have.

➔ Once added, press the ‘Create’ button located near the box.

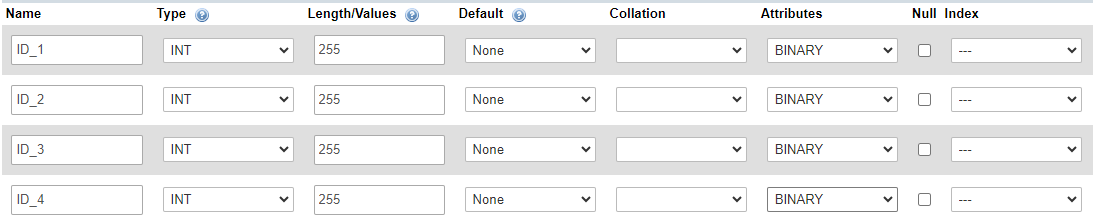
➔ You will be taken to a new page where you can define the structure of your table. This involves specifying details for each column:
★ Name: The name of your column.
★ Type: The data type like ‘INT’ for integers, ‘VARCHAR’ for text, and ‘DATE’ for dates. You have to choose the type that best fits the data you plan to store in each column.
★ Length/Values: For some types, specify the maximum length. For e.g., VARCHAR(255).
★ Attributes: This is the optional setting, like unsigned or binary, depending on the data type.
Note: If it becomes necessary to save foreign/special characters in the record, the collation must be able to accommodate those characters and symbols appropriately.
➔ Designate a primary key for your table by clicking the ‘Index’ dropdown next to the desired field and selecting ‘Primary.’ A primary key uniquely identifies each record in the table.
There are additional columns, but the table can be created without filling them all completely. Setting the Primary Key in the Index field is advised to prevent duplicate data and aid in record sorting.
Null: Whether the column can store null values.

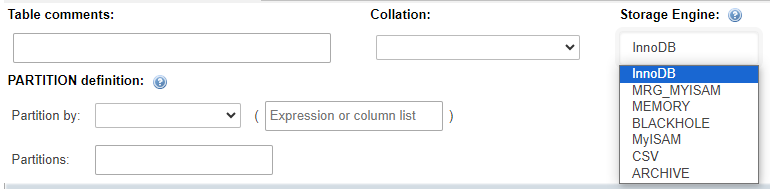
➔ Next, we may configure the ‘Storage Engine’ type that the table will employ below the columns. While ‘InnoDB’ and ‘MyISAM’ are the most often used, there are other types that can be accessed upon request. Because InnoDB locks only rows rather than the entire table, it is typically used.
➔ Once you’ve defined the table structure and settings, click the “Save” button to create the table in the selected database.
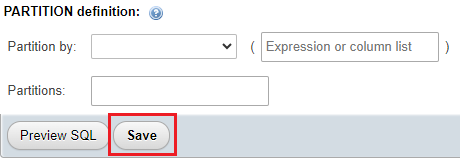
That’s it! Finally, the table has been created! It’s ready to store information, or it can be further modified if needed.
Note: Optionally add indexes and constraints to your table to improve query performance and enforce data integrity.
Also Read: How to Delete a Table in PHPMyAdmin?
Conclusion
Creating a table in phpMyAdmin is a straightforward process once you are familiar with the interface and database concepts. By following this guide, you should be able to successfully create tables and set them up for your application’s needs.
Related Posts:
- How to Enable or Disable PHP Error Logging in cPanel?
- How to Create a Table in phpMyAdmin?
- How to Create a basic SPF Record in cPanel?
- How to Reset Email Account Password in cPanel?
- How to Change MySQL Database User Password From cPanel?
- How To Decrease Inode Usage In cPanel?
- How to Change Table Name in phpMyAdmin?
- How to Set up Email Forwarding in cPanel?
- How to Configure Domain Redirects in cPanel?
- How to Change the Time Zone in cPanel Roundcube Webmail?

Latest Posts
- Server-Side Scripting: PHP, Node.js, Python – A Detailed Comparison
- Securing Your Website in 2024: Essential Strategies for Online Safety
- The Future of Web Development Technologies: Trends to Watch in 2024
- How Banks Handle Server-Side Operations and Ensure System Security: An Inside Look
- Tips for Writing Clean, Understandable, and Efficient Code: Avoiding Garbage Code
- Tailwind CSS: Revolutionizing Modern Web Design
- Basic Linux Commands for Beginners: A Starter Guide
- Dairy Farming Loan Apply
- BSNL Recharge Plan
- Bijli Bill Mafi Yojana Online Apply
Technical
- DevOps Roadmap
- How To Install and Configure an SNMP on Ubuntu 20.04
- Apple releases iOS 18 Developer Beta 2 with iPhone screen mirroring, RCS toggle,and more
- How to enable SNMP on Ubuntu Linux 18.04 and above
- How to Force HTTPS Using .htaccess (Updated 2024)
- Display All PHP Errors: Basic & Advanced Usage
- PHP alert
- MongoDB loads but breaks, returning status=14
- MongoDB database deleted automatically
- MongoDB all Error Solutions
Category